
Go to documentation repository
Page History
To install Axxon One with any type of installation, do the following:
| Note | ||
|---|---|---|
| ||
|
Open the Axxon One distribution
Open the Axxon One distribution package.
Run the setup.exe executable
file file.
Info title Note If you cannot run the installation files downloaded from the internet, allow running programs and unsafe files in Windows OS.
In the dialog
boxwindow, choose the required language from the list and click the Install button.

- Select the Axxon One installation type in the dialog box
- window by clicking
- selecting the appropriate option button
- :
Server and client
—installs —installation of the client and
Server server services. We recommend selecting this type of installation if you use no more than five
Servers servers in one place that must work within the same domain.
Axxon One
Serverserver:
- Interacts with devices (cameras, microphones, inputs, outputs, and so on) that constitute a security system.
Stores archived data on its own disk
space spaces and interacts with archives located in network storage.
Stores databases of events and databases of object motion metadata.
Analyzes the incoming video using
detection toolsdetectors.
Keeps configurations of the security system, user settings, custom layouts, macros, and so on.
Info title Note The Windows OS will create two accounts when the Axxon One software package is installed using a Server and client type of configuration.
An account with administrator rights which is used by the Axxon One file browser. The name of this account is set during installation of Axxon One. For Axxon One to function correctly, this account must have Windows administrator rights. If the account is a domain user account, you must also add the account to the Users and Power Users groups. The file browser helps to navigate through the Server's file system (such as when choosing disks for log volumes). The account can also be used for configuring access rights to the hard disk.
- Axxonpostgres – an account under which the log data database service is started. A log database (Postgres) is used for storing system events.
Failover server and client
—installs —installation of the client and
Server server services enhanced with the FailOver capability. In emergency (power outage, network problems), the FailOver technology restores the
Server server configuration on another
Server server (see Configuring
FailOver Failover VMS). We recommend selecting this type of installation if you use from 5 to 30 (minimum 3)
Servers servers in one place that must work within the same domain
..
Note title Attention! - For stable operation with more than 500 cameras on a single server, the Failover server and client (cluster type—independent nodes (see Creating and configuring independent nodes)) installation type is required.
- For stable operation with more than 1,500 cameras in a single Axxon One domain, the Failover server and client (cluster type—independent nodes (see Creating and configuring independent nodes)) installation type is required on all servers.
- Client—installation of only the client
Client—installs only the client application - that allows the user to connect to any
Server - server and perform administration/management/monitoring operations with the protected facility based on the permissions granted by the administrator.

Info title Note
- server and perform administration/management/monitoring operations with the protected facility based on the permissions granted by the administrator.
- We offer a separate installation package containing only the Axxon One Client. To obtain it, contact our technical support. You can download additional packages from the official website. This installation package is intended only for Client updates. You cannot install it on a computer where Axxon One was not previously installed.
If you use more that 30
Servers servers in one place or if they are located in different places, and you need to have a single user management on all
Serversservers, you must consult an AxxonSoft manager or technical support service.
To record all installation-related events to a log file, select - Set the Enable full installation log (increases the time of product installation) checkbox if you want to record all installation-related events to a log file and control the entire installation process (all available windows described on the page will be displayed).
- Click the Next button.
A dialog box - window with a selection of components for installation opens.

Info title Note To view the list of components that will be installed,
click click
 .
.Note title Attention! On - In Windows 11 OS and Windows Server 2019 OS, errors can occur in the
Server - server operation when Guardant drivers are installed. We don't recommend installing Guardant drivers. Installation of Guardant drivers is disabled by default.
- For the correct installation of Guardant drivers, you must disable the check of the drivers digital
signature - watermark in the operating system and disable Secure Boot in BIOS.
Select Set the checkboxes next to the components that you want to install. We recommend installing all components.
Info title Note By default,
the the Axxon
One One distribution package includes only the
basic basic DetectorPack. For the information on installing DetectorPack add-ons,
see Click the Install button. All selected components will be installed. The installation process can take considerable time. After that, the preparation process for
the the Axxon One
installer installer will be initiated.

Info title Note The following software is installed among the prerequisites:
- PostgreSQL 10.8.0
Server - server database. If an older version of PostgreSQL is installed, it is updated to version 10.8.0. A new log database is automatically created (name: ngp,
user name- username: ngp, password: ngp). By default, PostgreSQL is installed on the system disk. You can change the path using the command line options of the installation file (see Silent
install - installation (Quiet Mode)).
- NET Framework 2.0, .NET Framework 3.5 SP1 and .NET Framework 4.0.
- Acrobat Reader that is necessary for
exporting - viewing the exported frames in PDF format and printing
freeze frames - them (
see - see Frame export).
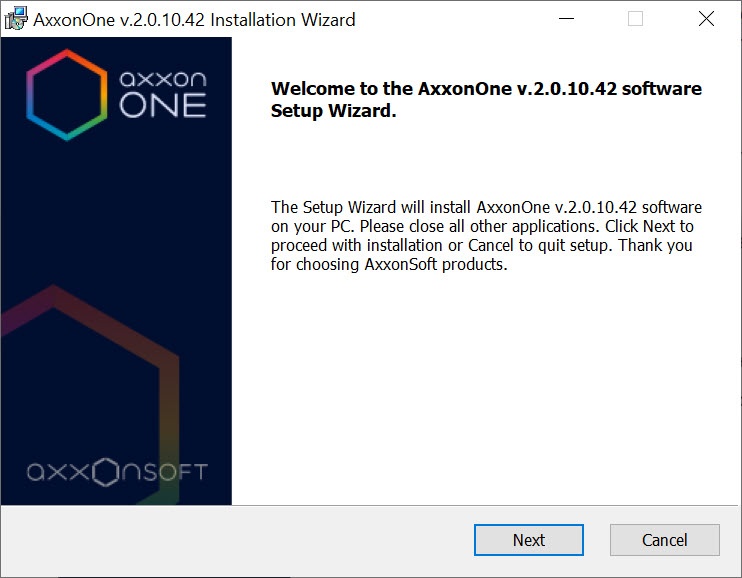
- Click the Next button on
- in the welcome screen of Installation Wizard.
- To proceed with installation, carefully read and accept the terms of the license agreement by selecting the radio button next to
- to I accept the terms of the License Agreement and click the Next button.

Select the folder for storing the log database and the metadata database used
in in Axxon One.
Note title Attention! You can specify the - The path to the folder for storing the system log database and metadata database:
- can be specified only once during the installation process
. If necessary- The path to the folder for storing the system log database and metadata database:
- ,
you can change it, but you will need to reinstall Axxon One (without losing the configuration and video archive).- must contain only Latin letters and
numbers- digits,
- must be local.
By default, the log database and the metadata database will be located in the X- The default path is <Drive letter with the largest amount of free memory>:\AxxonOneData\
folder - (in the Data and vmda_db subfolders, respectively)
, where X is the drive letter with the largest amount of free memory- . In future, you can place the metadata database
can be placed - in the network storage (see
Configuring storage of the system log and metadata).- Data storage). You can change the path by reinstalling Axxon One (without losing the configuration and video archive).
- To reduce the load on the system disk, we recommend storing the system log database and the metadata database on a separate physical disk.
- To calculate the required amount of disk space for the system log database, the metadata database and Axxon One, you can refer to Disk storage subsystem requirements.

By default, shortcuts are added to both
quick launch bar Quick Launch Toolbar and desktop.
Clear the corresponding checkboxes if If it's not required, clear the Add shortcut to Quick Launch Toolbar checkbox and the Add shortcut to Desktop checkbox.
By default, upon connecting to the
Serverserver, the
Client client can be automatically updated (see Automatic update of a remote Client). If it's not required, clear the Create
an archive for automatic update checkbox. In this case, you can save Axxon One
installation installation time, but the
Clients clients will not be automatically updated upon their connection to the
Serverserver.
- Click the Next button.
- By default, the Axxon One Server name is identical to the computer name. If the computer name contains forbidden characters, you have to set an appropriate name for the Server according to the recommendations, and click the Next button.
- One processes are added to Windows Defender Exception. If it's not required, clear the Add processes to Windows Defender Exception checkbox.
Info title Note The Add processes to Windows Defender Exception checkbox is available starting with Axxon One 2.0.8.
- Click the Next button.
In the window that opens, select an installation
method type and click
the the Next button.
If the Custom installation method is selected, you can perform advanced configuration of the
installation of Axxon One. Standard installation
method type is selected, you are prompted to select an Axxon-domain (
Step step 25). Default values will be used for other settings.
If the Custom installation type is selected, you can perform advanced configuration of the installation of Axxon One.

Select a user account in the file browser:
- Use default AxxonOne File Browser account.
- Use Local System account.
Specify username and password for new or already existing user.

Note title Attention! - The file browser helps to navigate through the
Server- server's file system (such as when choosing disks for archive volumes). The user account for the Windows file browser
will be - is created with administrator
privileges- permissions.
- After installation of Axxon One, make sure that a file browser account has been created in Windows and belongs to the Administrators group.
Specify the path
to to Axxon One
folders folders and configuration files. By default, the files and folders of the configuration are stored in the C:\ProgramData\AxxonSoft\AxxonOne\ folder.

Note title Attention! The specified paths must contain only Latin characters and
numbersdigits.
Specify the path to the folder for
installing installing Axxon One. By default, Axxon One
will be is located in the C:\Program Files\AxxonSoft\AxxonOne\ folder.
Click the Next button.
Specify the range of ports
to be that are used for the
Serverserver. To do
sothis, specify the lower end of the range, as well as the number of ports. This range can be used by the local network administrator
to - in
in cases
where when it is necessary to give the
Client client access to the
Server server from another network. The minimum possible number of ports is 20.
For a full list of ports,
see see Ports used by Axxon One. After you
install install Axxon One, you can change the range of ports manually (
see 
Info title Note Connected devices
will only work on ports from the specified range.
If If not enough ports are allocated, then some of the devices may not work or can be unstable.
The number of ports that you select affects the scalability of the system. Keep the following in mind when specifying the number of ports:
- After the
Server - server is installed, it occupies 10 ports, including one for sending emails (via the SMTP service, see
The - ).
Attention! The Failover server and client installation type (see Configuring Failover VMS) uses 9 base ports and preset port ranges for each node (see Ports used by the FailOver system); - In a 64-bit configuration, 4 ports are required for any number of IP devices. In a 32-bit configuration, 4 ports are required for each 32 cameras;
- Each archive requires 1 port;
- 1 port is required for viewing archive in the
Web-Client- ).
- web client;
- 2 ports are required for each decoded video stream on the currently opened layout in the
Web-Client- web client;
- 2 ports
- are required for mobile
Client- client;
- 2 ports are required for any number of speakers in the system (see The Speaker object);
- 1 port is required for recording metadata into the database;
- 2 ports are required for operation of service
detection tools- detectors;
- 2 ports are required for operation of scene analytics
detection tools- detectors;
- 2 ports are required for operation of scene analytics
detection tools - detectors;
- detectors based on
neurotracker- Neural tracker;
- 2 ports are required for operation of
neurocounter- Neural tracker;
- Neural counter.
If necessary, specify an alternative
Server server address—the external address of the switch if the
Server server is behind
the the NAT. Interface specification format: "IP address1 or DNS name1, IP address2 or DNS name2".
To restrict visibility of the
Servers servers on particular networks in the list of
Servers servers during Axxon One configuration, do the following:
Click the Select network interfaces button. The Network interfaces window opens.

By default, use of all available network interfaces on the
Server server is allowed, meaning that
Servers servers on the relevant networks are visible in the list. If you don't want for the
Servers servers on the networks of certain network interfaces to be visible in the list, clear the relevant checkboxes.
Info title Note Depending on the network topology, it
will is still
be possible
be to reach the
Servers servers manually (if broadcasting is allowed between the network segments).
Click the Apply button.
Click the Next button.
Create a new Axxon-domain with the name Default (for the definition of an Axxon-domain see Appendix 1. Glossary). If you want to add the computer to an Axxon-domain at a later time, select
Server will be manually added to already existing Add server to domain later. Click the Next button.
Info title Note - When reinstalling Axxon One, you have the option of using the previous domain (select Use existing configuration).
- Using the same Axxon-domain name doesn't guarantee that the
Servers - servers will be in the same Axxon-domain. To place all
Servers - servers into one Axxon-domain, you must use Axxon One interface to add each
Server - server to the necessary Axxon-domain. Axxon-domain configuration is described in detail in Configuring
Axxon-
A dialog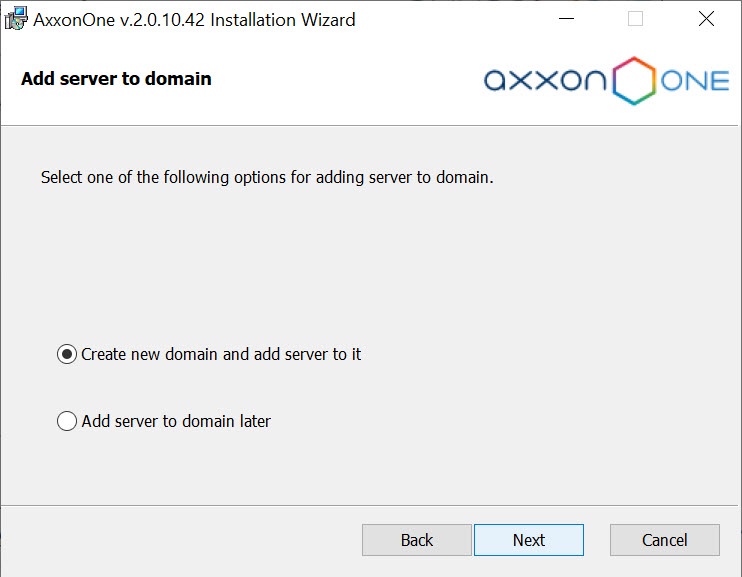 box
box - window opens, showing the installation parameters corresponding to the selected type of installation.

- Verify your installation settings and click the Next button to begin installation of Axxon One.
Installation of Axxon One is then performed. 
After installation, a new dialog box - window opens informing you that the installation of
- of Axxon One is completed
- is complete.

- Click the Finish button to confirm completion of the installation.
Starting with Axxon Driver Pack 3.51, this driver package requires the Windows update KB2999226 to be installed. If this update isn't installed in the system, you will see a warning. To continue installation, download the update from the Microsoft official website. When installing the update, consider the bitness of your system.
If the

Installation of Axxon One is now complete.
| Tip |
|---|
|
Overview
Content Tools